


Introduction to HTMLLearn the basics |
Adding images
Step 19
You will probably want to add some images to your webpage. It is a good idea to save your images into a special folder that you make and keep by your html code or website.
Go to the folder that you made earlier called ‘web design’ and inside there create a folder called ‘images’.
Go to the internet and find an image you want to use.
Save it to this folder and give it an easy name to remember because you are going to have to type this name into your code.
I put a <p> tag underneath my other font so that my text about horses would be in a new paragraph.
I then put a <br> tag to separate the image from the text.
Now look closely at the image html code: <img src=”images/horse.jpg/”>
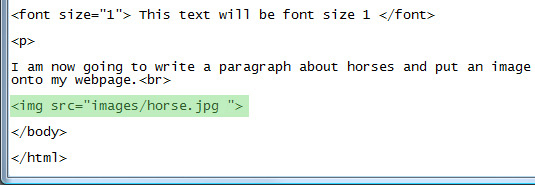
img src means the image source or where you will find it.
Make sure you put an = sign and no gaps
Then use speech marks and put in the name of the folder where the image is saved, in this case it is: images
Note that after images there is a / sign. In this case this means ‘go and look one level down, inside the folder for the image.
It then has the image name, ‘horse.jpg’
Finish off by putting closing speech marks and a >
<img src=”images/horse.jpg”>
This really is just the basics of html, there are so many more things that you can do and if you are interested it is worth looking on the internet for some basic introductions to html and seeing how far you can take your knowledge.
Copyright © www.teach-ict.com